Skip to content
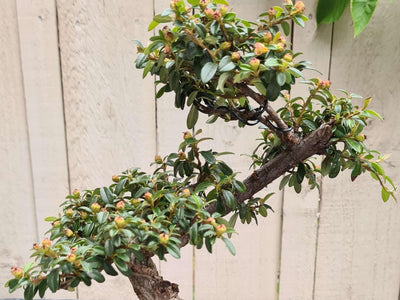
Fuji Cherry Bonsai | Prunus
Caring for a Fuji Cherry Bonsai in the UK climate requires attention to several key factors to ensure its health and beauty. Here's a comprehensive care guide tailored to the specific needs of your bonsai:
-
Light:
- Fuji Cherry bonsai thrives in full sunlight, preferably receiving at least 6 hours of direct sunlight daily.
- Place your bonsai near a south-facing window where it can receive ample sunlight. During the summer months, protect it from scorching afternoon sun by providing partial shade.
-
Temperature:
- Fuji Cherry bonsai prefer cool to moderate temperatures. They can withstand winter cold, but frost protection may be necessary during harsh winters.
- Keep your bonsai in a location where temperatures range between 10°C to 25°C (50°F to 77°F) during the growing season. Protect it from extreme temperature fluctuations.
-
Watering:
- Proper watering is crucial for Fuji Cherry bonsai. They prefer consistently moist soil but can't tolerate waterlogging.
- Water your bonsai thoroughly when the soil surface starts to dry out, typically every 2-3 days during the growing season. Reduce watering frequency in winter.
- Ensure proper drainage to prevent waterlogging, which can lead to root rot.
-
Humidity:
- Fuji Cherry bonsai appreciate high humidity levels, which can be challenging to maintain indoors, especially during the winter when indoor heating can dry the air.
- Increase humidity around your bonsai by placing a humidity tray filled with water and pebbles beneath the pot. Misting the foliage occasionally can also help.
-
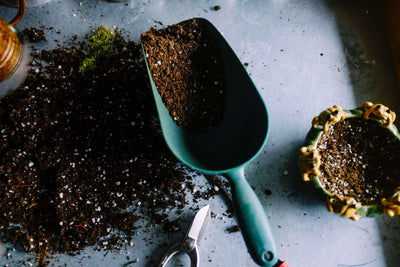
Soil:
- Use well-draining, slightly acidic soil for your Fuji Cherry bonsai. A mix of bonsai soil, akadama, and organic matter such as pine bark or peat moss works well.
- Repot your bonsai every 2-3 years during the spring to refresh the soil and promote healthy root growth.
-
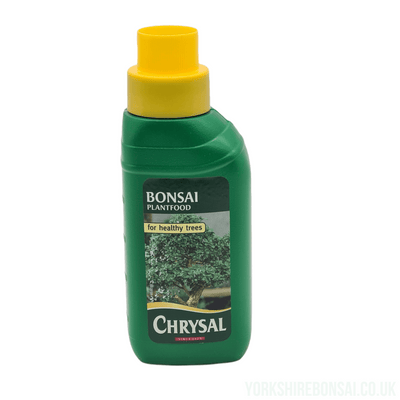
Fertilization:
- Feed your Fuji Cherry bonsai with a balanced liquid fertilizer during the growing season, typically from spring to early autumn.
- Dilute the fertilizer to half-strength and apply it every 2-4 weeks to avoid over-fertilization, which can damage the roots.
-
Pruning and Training:
- Regular pruning is essential to maintain the shape and size of your Fuji Cherry bonsai.
- Prune in late winter or early spring before new growth begins. Remove dead, damaged, or crossing branches, and trim back excess growth to maintain the desired shape.
- Wiring can be used to train the branches of your bonsai into the desired position. Be careful not to damage the branches, and regularly check and adjust the wires to prevent them from cutting into the bark.
-
Pests and Diseases:
- Keep an eye out for common bonsai pests such as aphids, spider mites, and scale insects. Treat infestations promptly with insecticidal soap or neem oil.
- Prevent fungal diseases by ensuring good air circulation around your bonsai and avoiding overwatering.
By following these care guidelines, you can enjoy a healthy and thriving Fuji Cherry bonsai in your UK climate. Remember to observe your bonsai regularly and adjust your care routine as needed to ensure its well-being.
When to Repot:
- Repot your Fuji Cherry bonsai every 2-3 years, preferably in early spring before new growth begins. This timing allows the tree to recover quickly from the repotting process and establish itself in its new container before the growing season.
Signs that Repotting is Needed:
- Slow growth or stunted development.
- Water draining slowly from the pot, indicating compacted soil.
- Roots circling around the root ball, indicating that the bonsai has outgrown its current container.
- Soil breaking down or becoming waterlogged, affecting drainage and aeration.
How to Repot:
-
Prepare the Bonsai: Water your bonsai thoroughly a day or two before repotting to make the soil easier to work with. Remove any wires or training devices from the branches.
-
Gently Remove from the Pot: Carefully lift the bonsai out of its current pot, loosening the soil around the edges with a root hook or chopstick. Be gentle to avoid damaging the roots.
-
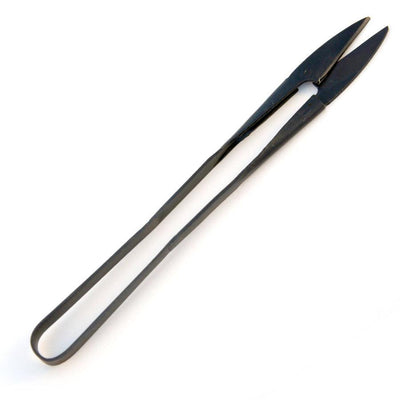
Root Pruning: Examine the root ball and prune away any circling or overly long roots using sharp, clean bonsai shears. Trim back about one-third of the root mass, focusing on maintaining a healthy balance between roots and foliage.
-
Prepare the New Pot: Select a slightly larger bonsai pot with good drainage holes. Add a layer of fresh bonsai soil to the bottom of the pot.
-
Reposition the Bonsai: Place the bonsai in the center of the new pot, ensuring that it sits at the same depth as it did in the previous pot. Spread out the roots evenly and fill in the gaps with fresh bonsai soil, gently pressing down to eliminate air pockets.
-
Water and Care: Water the bonsai thoroughly to settle the soil around the roots. Place the bonsai in a shaded location for a week or two to allow it to recover from the repotting process before gradually reintroducing it to its usual light conditions.
-
Aftercare: Keep the bonsai well-watered and protected from strong winds and direct sunlight during the recovery period. Resume regular care routines once the bonsai shows signs of new growth.
Share this
Explore more
Popular posts